Mautic is my favorite open-source marketing automation software. I use it for many projects and in quite a few situations, it can completely replace a SaaS marketing automation platform. If you would like to know more about Mautic’s features and if it might be a fit for your business, have a look at my in-depth Mautic review.
In this article, I will go over some Mautic tips and tricks, as well as best practices. This article will be organic, meaning that I will be adding to it whenever I feel the need.
Installing Mautic
Always (if you’re technical enough to accomplish this), install Mautic on your own VPS. I recommend installing Mautic on DigitalOcean. This allows you to be in full control of your Mautic installation and own your data. It also allows you to upgrade your server when necessary. Check out my Mautic Installation Guide for a step-by-step walk-through.
If you are not technical and words like Ubuntu, web servers, and the Linux command line are Chinese to you, then you might want to consider installing Mautic through cPanel. A2hosting offers 1-click, easy Mautic installations.
Inserting the Mautic Tracking code
Mautic can integrate with WordPress in different ways. For example, there is a plugin for easily installing the Mautic tracking code on WordPress. However, my recommendation would be to use Google Tag Manager to inject the code.
Some people have reported that GTM flags the Mautic tracking code as Malware, but I haven’t experienced this myself. You can always go back and download the Mautic plugin for WordPress if GTM refuses.
Mautic WPfluentforms (forms integration)
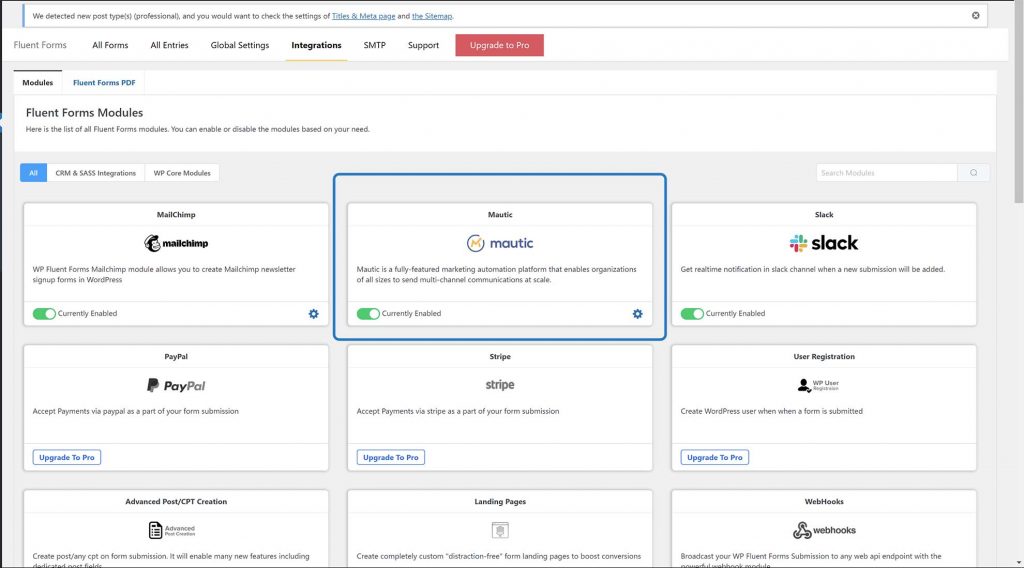
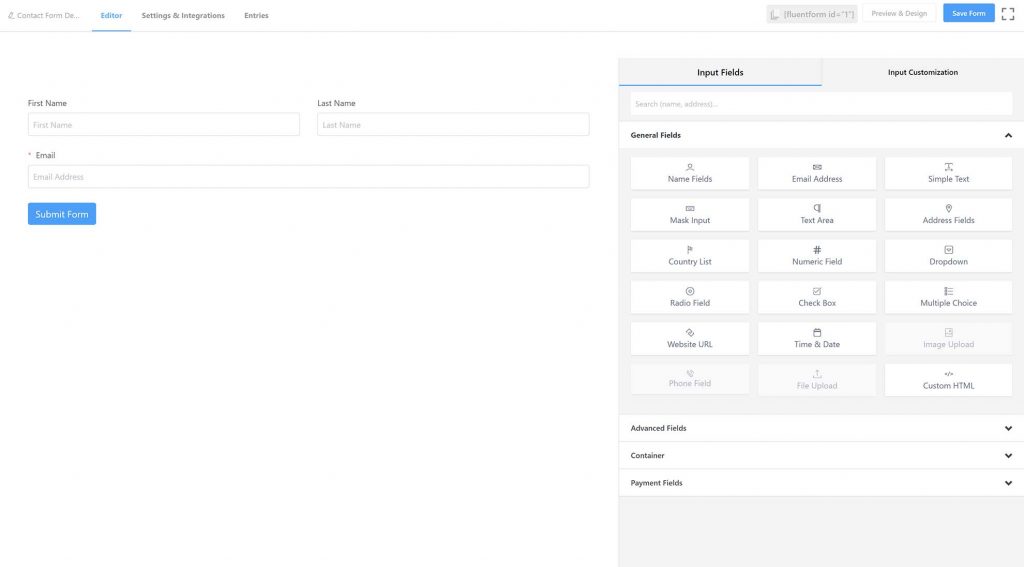
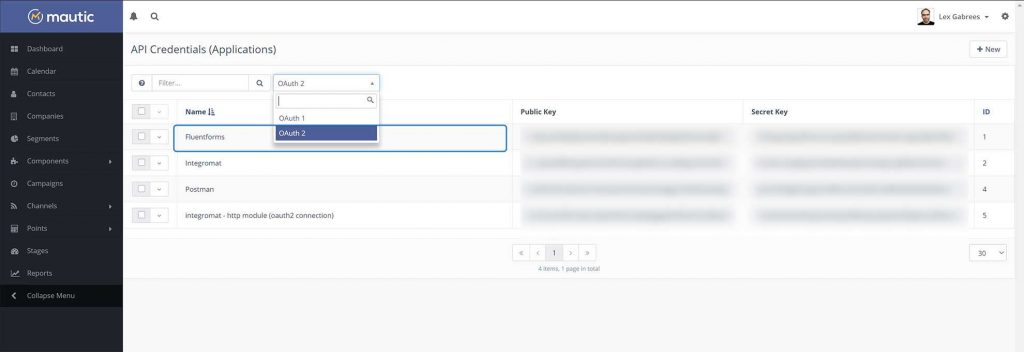
Another way of connecting beautiful forms on WordPress to Mautic is through the use of WPfluentforms. This form builder offers a free integration with Mautic through the use of the API. Setup is easy, and it works very well. What’s nice about WPfluentforms is that you can create beautiful forms easily, and there are many extra features, such as field logic, file uploads, and payment system integration (for example stripe).
Mautic Woocommerce integration
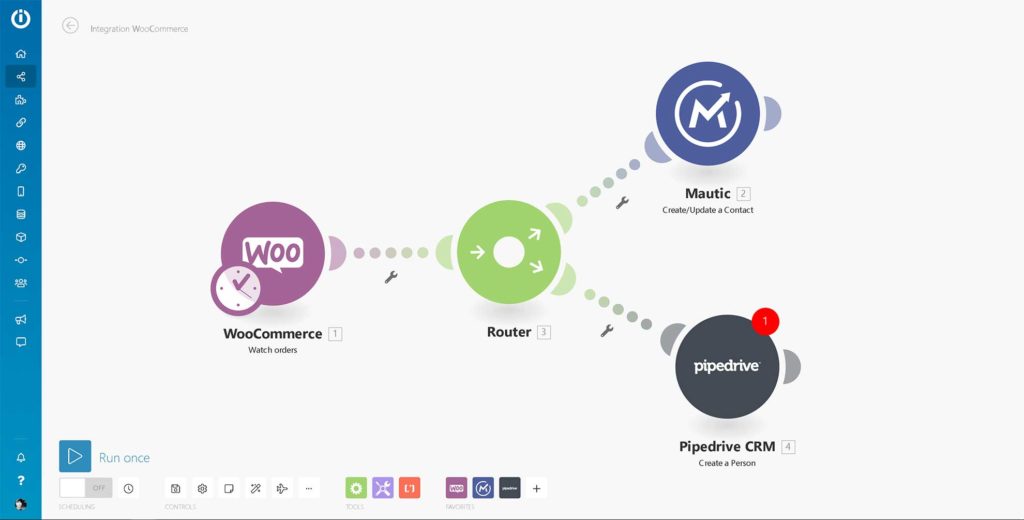
Integrating Mautic with Woocommerce was, for a long time,e considered a hurdle. But it isn’t anymore. I don’t recommend buying an expensive Woocommerce integration plugin, because it’s easy to get the job done by using a tool like Make, or n8n.
These workflow automation tools allow you to connect Mautic with Woocommerce easily and quickly.
Unsubscribing Mautic contacts
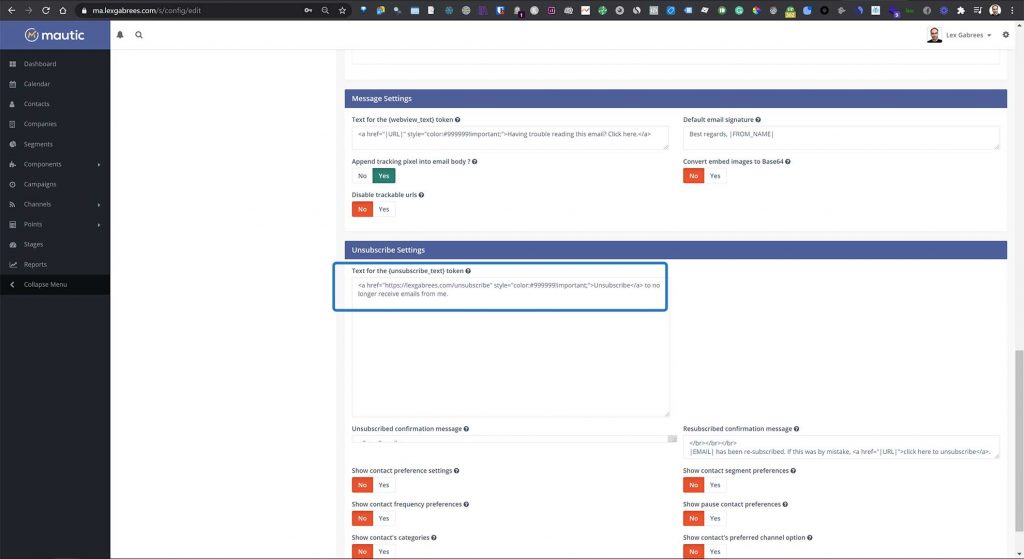
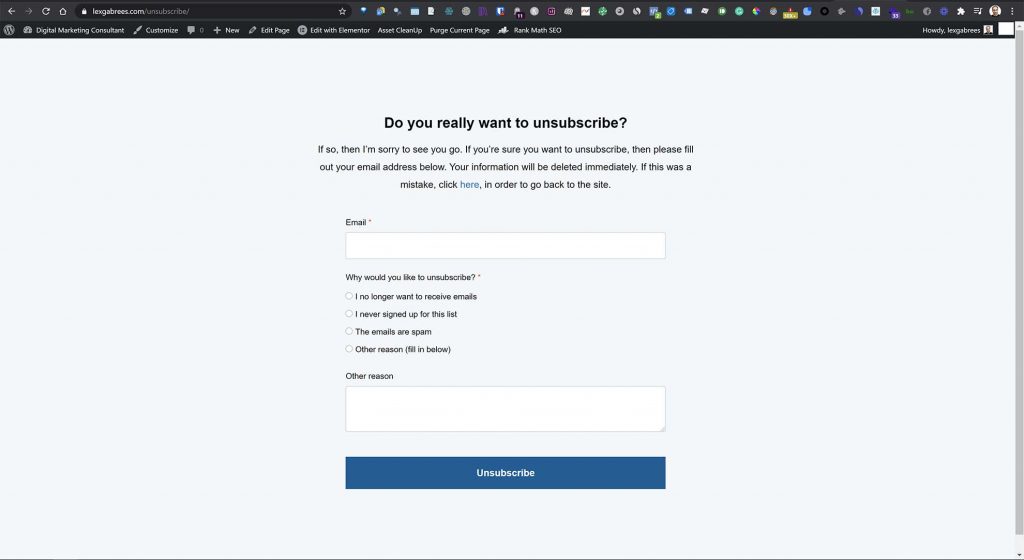
The standard unsubscribe link that is provided in the Mautic configuration leads to an ugly notification screen. This is the unsubscribe link that is automatically placed in every email. I’m always surprised at how many people just leave this link as it is. It may sound strange, but even the unsubscribe process needs to be nice (if you ask me).
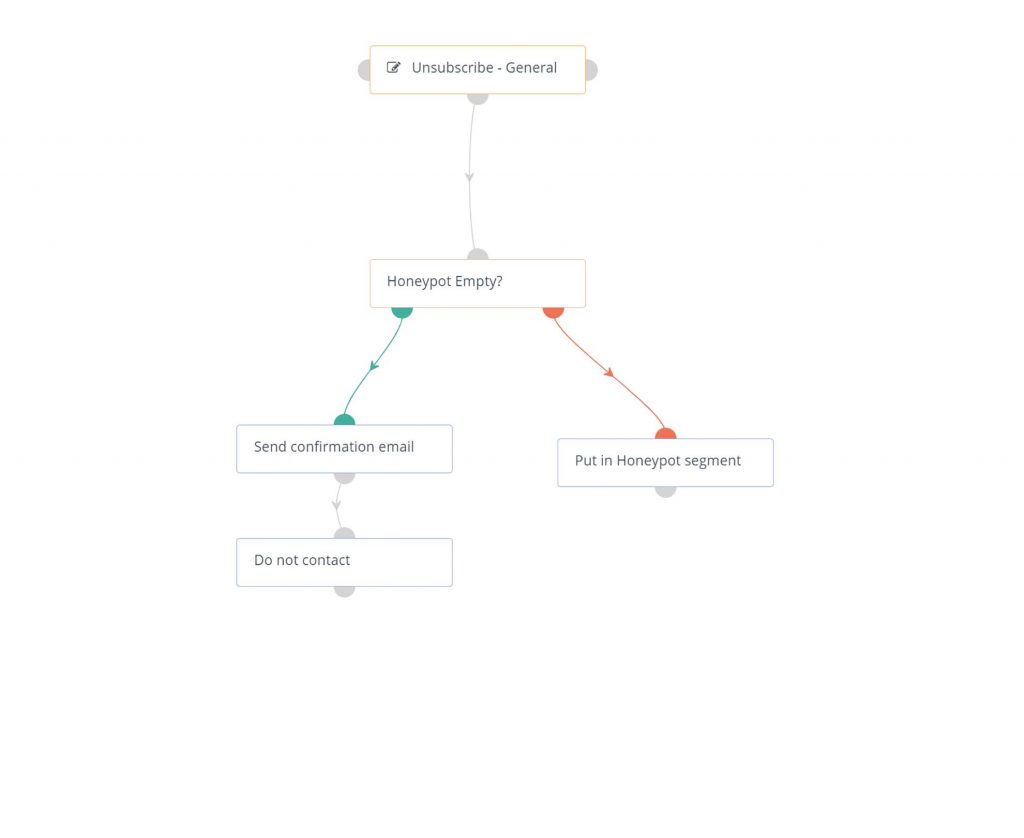
Instead of leaving the unsubscribe link as it is, you can replace it with a link to a landing page with a nice unsubscribe form. This way, you can get some user feedback about the reasons they are unsubscribing. The form then connects to an unsubscribe campaign, and the campaign will then delete the contact from the database.
Mautic Double Opt-in
One thing users get confused about with Mautic is that there doesn’t seem to be an obvious double opt-in switch somewhere in the dashboard. As a result, some people think that this isn’t possible in Mautic. Nothing is further from the truth, because double opt-in signup functionality can be easily built by using conditional branches inside the signup campaign.
The way to create a double opt-in campaign in Mautic is to send a welcome email to the user, with a confirmation link inside that email. This link can then take the user to a landing page on your website. By means of the tracking pixel, Mautic can then identify if the user has visited the page or not. Next, the campaign simply moves the contact to either a ‘subscribed’ or a ‘to delete’ segment.
Mautic Cronjobs (selection and timing)
The Mautic documentation is clear about cron jobs, and without setting up your cron jobs, Mautic will simply do nothing. Always configure the cron jobs you feel you need for your project, and leave the ones you don’t need out. For Mautic cron job documentation, click here.
Don’t ever configure Mautic cron jobs to run every minute. Instead, depending on your server size and the number of campaigns and contacts, set your cron jobs to run every 5 to 10 minutes. To see what cron job configuration I use, check out my Mautic Installation guide.
In short, I recommend starting with a base cron job configuration (the one that is shown in the installation guide).
Mautic Honeypot (keeps out bots)
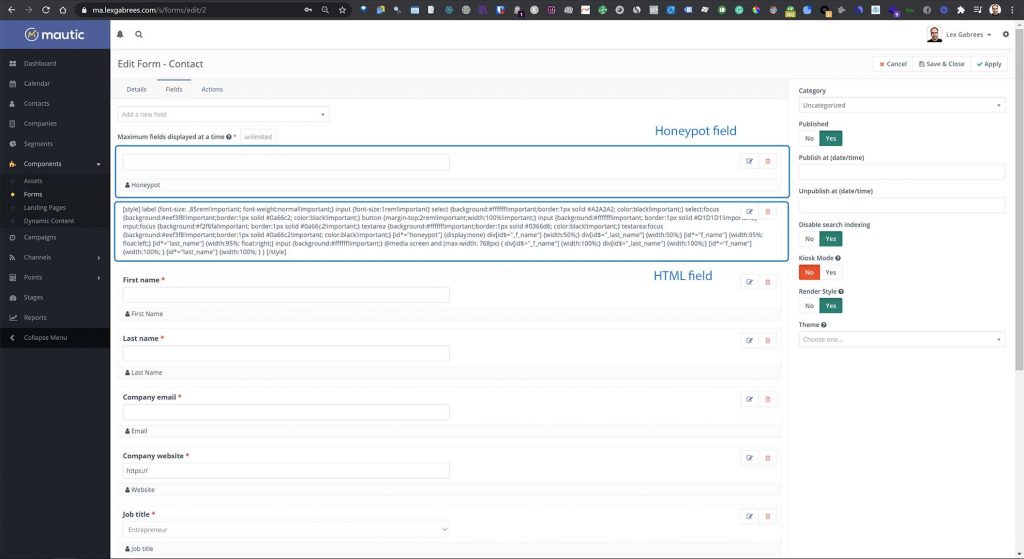
A honey pot is necessary in order to catch bot signups. You can implement a honeypot into your campaigns and have Mautic delete spam signups by bots.
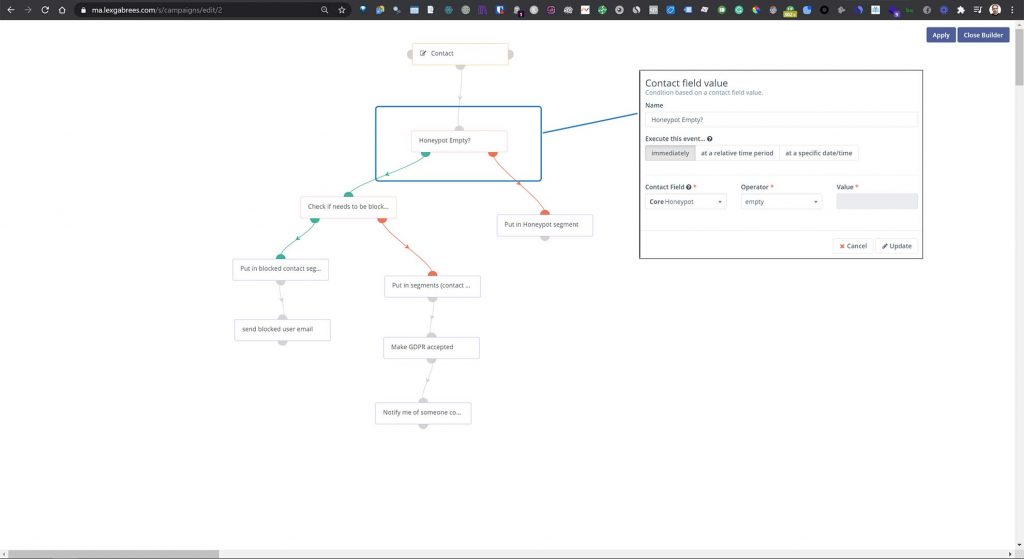
A honeypot can be implemented by adding a text field to your Mautic form and then hiding it from the user with a CSS (cascading style sheet) rule. The result is that the user will not be able to see the form, but a robot will. Logically, the bot will then fill in this field, and you can have Mautic check that filled field and return a true or false.
If Mautic finds that the hidden form field is filled in, it can only be a bot that’s filled in the signup form (remember, a normal user doesn’t see the input field, so they cannot fill it in). Next, you can have Mautic delete this robot with a conditional branch, within a campaign.
CSS can be added within the form itself (through an HTML field), or even through the customizer in WordPress (if that’s what you’re using).

